
Create A Free Blog On The Blogger.Com (BlogSpot) Blogging Platform

There are many blogging platforms available on the internet Read: The list of some popular blogging platforms, you can choose one or more of them to create a blog for yourself. Most of blogging platforms such as WordPress, blogger, Tumblr, Wix, Weebly, SquareSpace and others provide free blogging services where you can create a free blog.
If you are new to blogging and looking for free blog creation here is step by step guide to creating a blog on the blogger.com, it allows you to create a free blog. it is a good way for beginners to learn to create a blog. blogger.com is a service of Google, so you need to use your google account to start your blog.
Step by step Guide to create a free blog on blogger.com
Go to blogger.com and login with your google account, if you don’t have a google account, create one
For the first time user, you will see an option to use the identity from your google+ or blogspot profile choose any one profile (I recommend you to choose google+ profile)
Simply click on the Orange Button which says “Continue to Blogger”

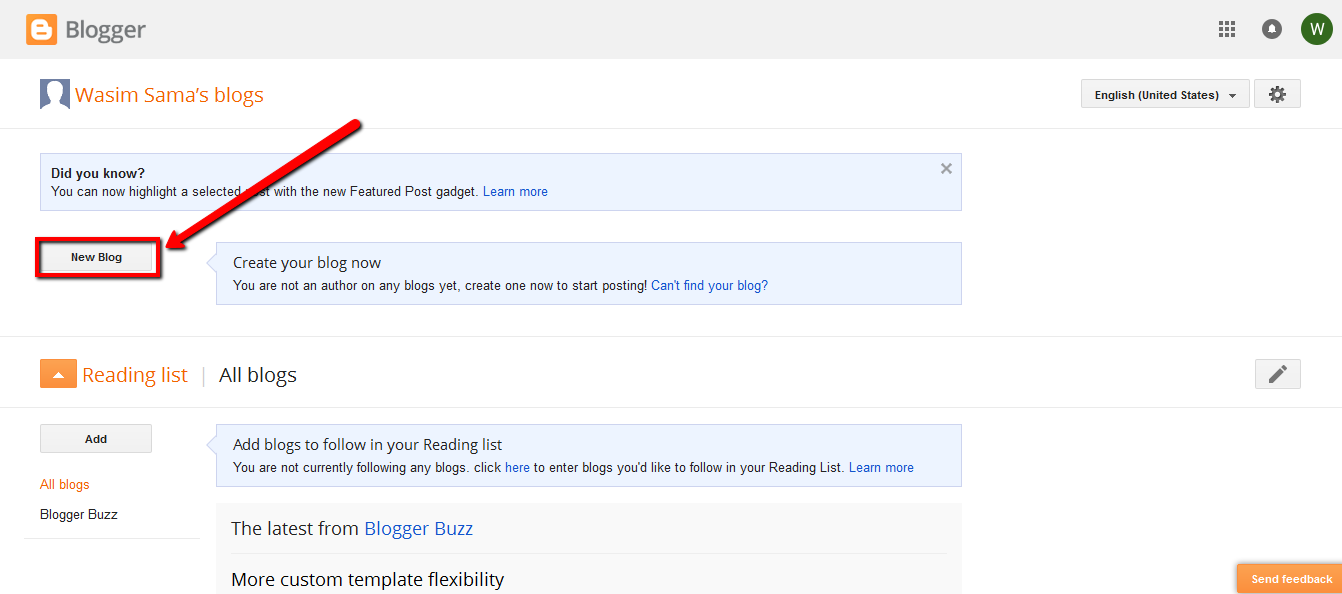
Once you are logged in, click on the “New Blog”.
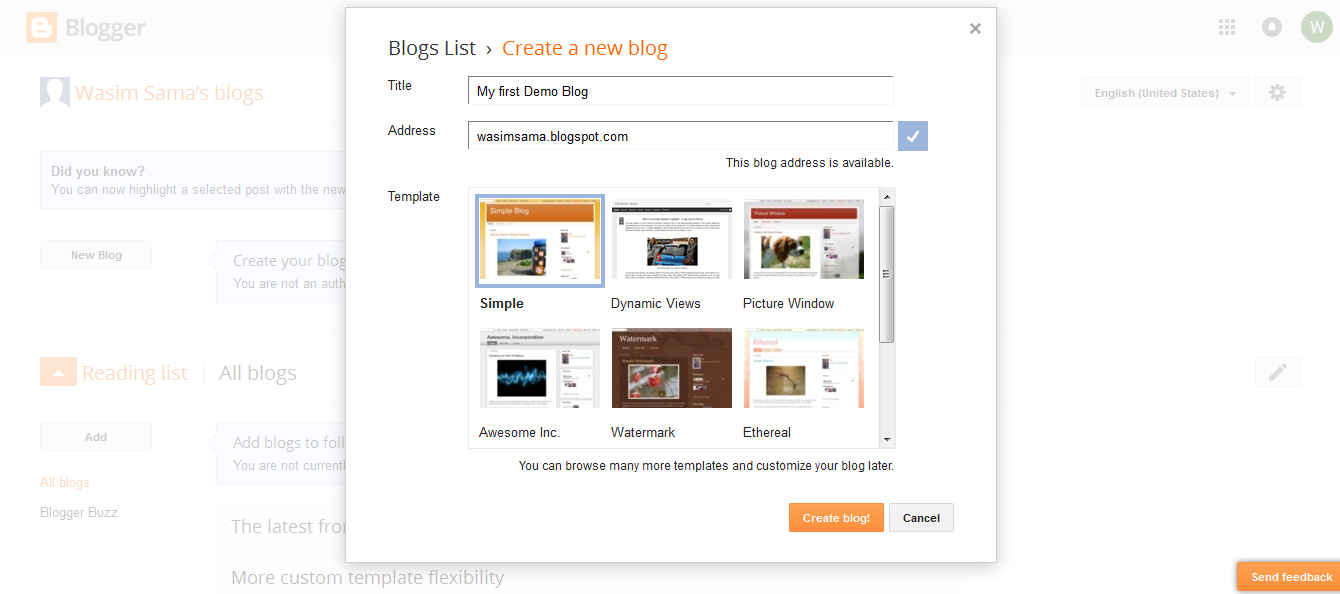
Then you need to add a name of your blog and select a domain name. Choose the blog template (You can change you blog template anytime) and click on “Create blog!” then your blog will be created.
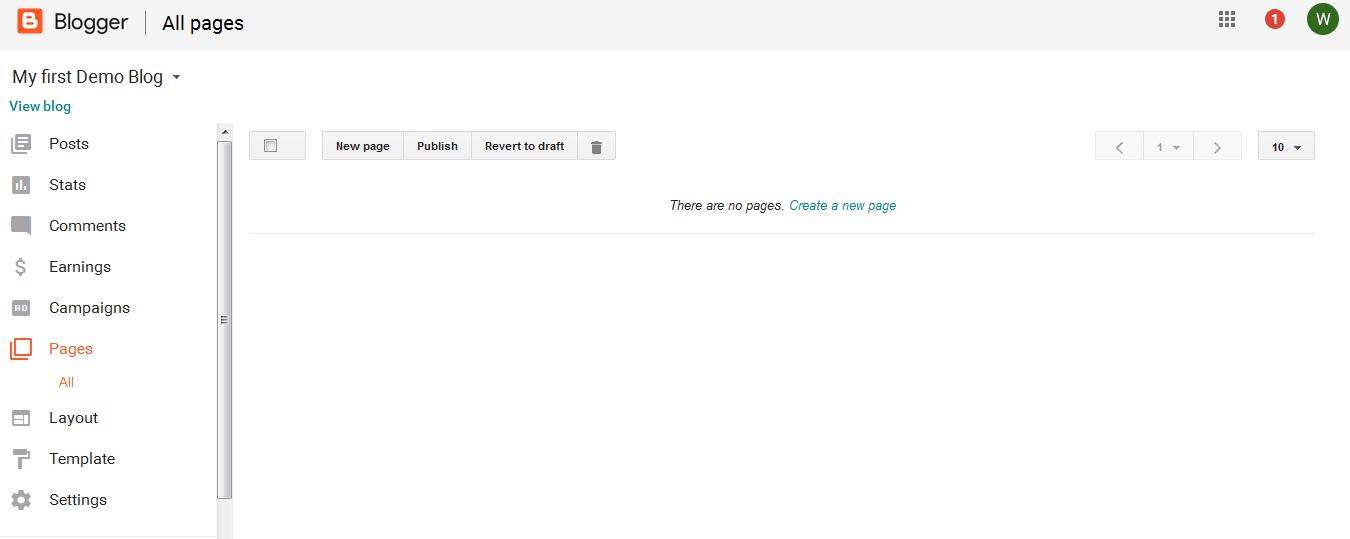
Now you are on the blogger dashboard, here you can see your blog’s backend. Here you can change your blog settings, create New post or page, edit or change template, see stats, see comments, see earnings etc. Click on the “New post” button to create a new post. On your dashboard left sidebar, you can see Posts, Stats, Comments, Earnings, Campaigns, Pages, Layout, Template and Settings.
Posts: Here you can see you all Posts, create New Post, edit or delete existing Post.

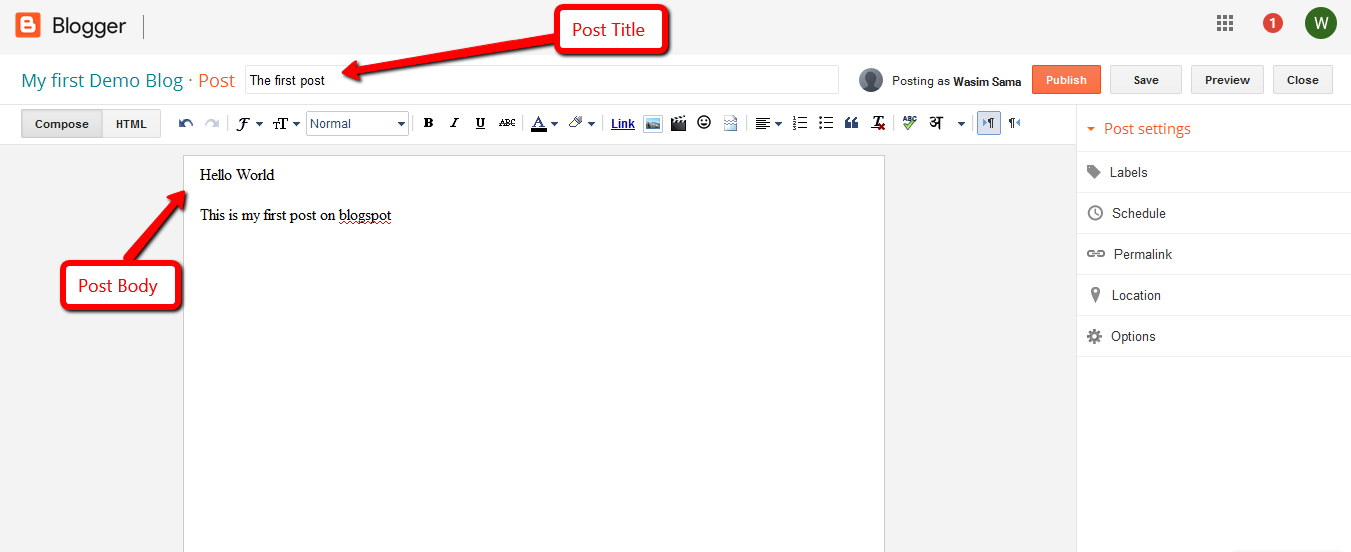
Start writing a post: here you can see the screenshot of the page given below where you can write a new post.
Posting a photo or other image on your blog post or page: When you are in the compose window, you will see a little picture/icon that looks like a mountain on the toolbar. Click on that. This opens a box that gives you a choice to add an image from your computer or an image from the web. click on “Choose files” button and select a picture from your computer. then click on “Add selected” button.
Stats: Here you can see the stats of the blog such as daily page views, monthly page views, Traffic sources, Followers, Audience, etc.

Earnings: Once you have a published few blog posts, you can go “Earnings” and enable AdSense for your blog. This will allow you to earn money from your free BlogSpot blog.

Comments: Here You can check and manage blog comments.

Pages: Here you can see you all Pages, create New Page, edit or delete existing Page.
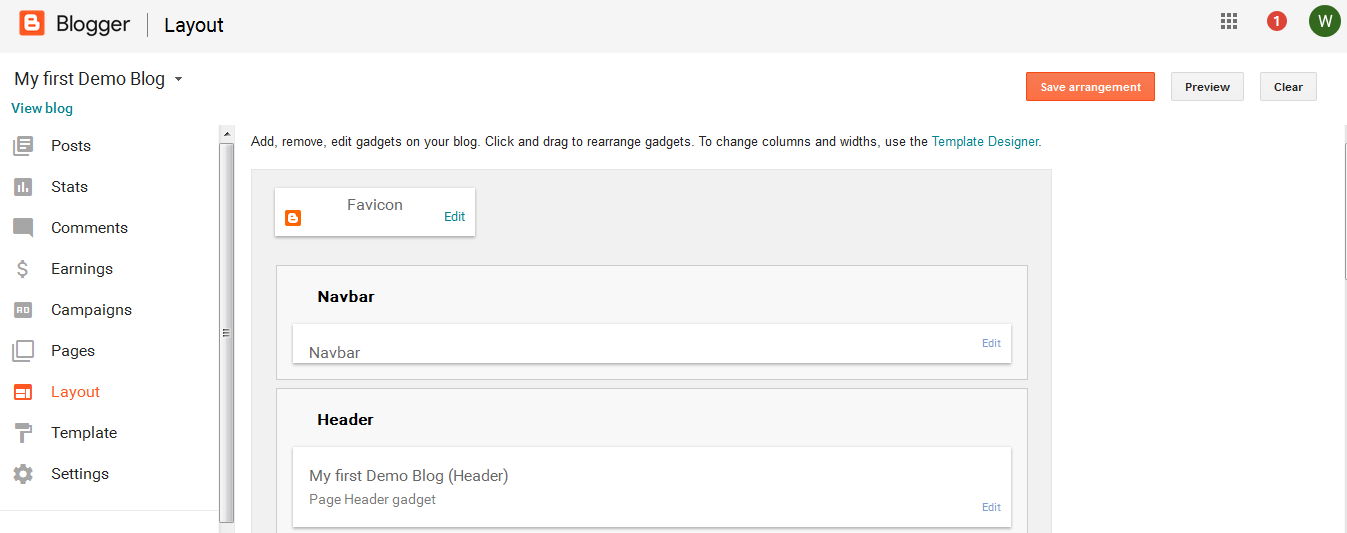
Layout: On this page, you can add a favicon, add a logo to the header of your blog and add, edit or remove gadgets on your blog.
Template: On this page, you can change your Blog’s template or Customize your blog’s template.


Click on “Customize” to change your template background, Adjust widths, change layout, text color, font style, etc.

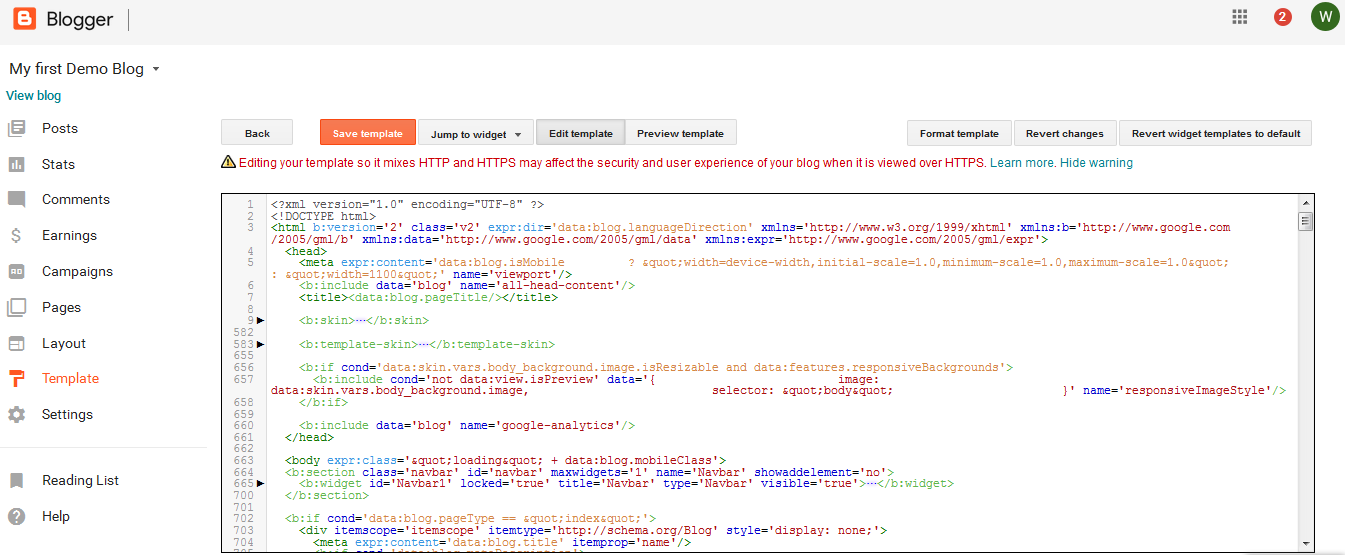
Click on “Edit HTML” to customize templte design by editing HTML code.
Settings On Setting page you can change your Blog Title, Blog Description, Privacy, Blog Address, Add or remove blog authors etc.

So your blog is almost ready, Start writing posts. If you like this post, don’t forget to share it on Social media and subscribe to our newsletter to keep receiving updates.
[ratings]